

Hi, artists! It's Dazzle the Zebra.
Have you ever wondered if something headed for the recycling bin could become an art tool? This month, save a clean Styrofoam food item and turn it into your very own printing stamp. You'll draw into the foam, add color and discover what happens when you press your design onto paper. Each print may look a little different - and that's part of the fun of exploring something new!
Gather Your Supplies
Clean, recycled Styrofoam food trays, such as a corn on the cob tray or you can use a Styrofoam plate. • A dull pencil, stick or another tool that can press lines into the foam
Scissors
Water-based markers, such as Crayola
Plain paper
Create Your Foam Prints
Decide what you want to draw. It can be something you see around you or something completely from your imagination. Details are good, but not too many.
Draw your picture directly onto the clean Styrofoam using a dull pencil, stick or another tool that will press your lines into the foam. Press firmly enough to make an indentation without poking all the way through.
Use scissors to cut around your design if you would like to turn it into a shaped stamp. You can also leave the Styrofoam as it is.
Use water-based markers, like Crayola, to color directly onto the surface of your foam stamp. Hint: Use the lightest color first if you plan to use multiple colors on the same stamp.
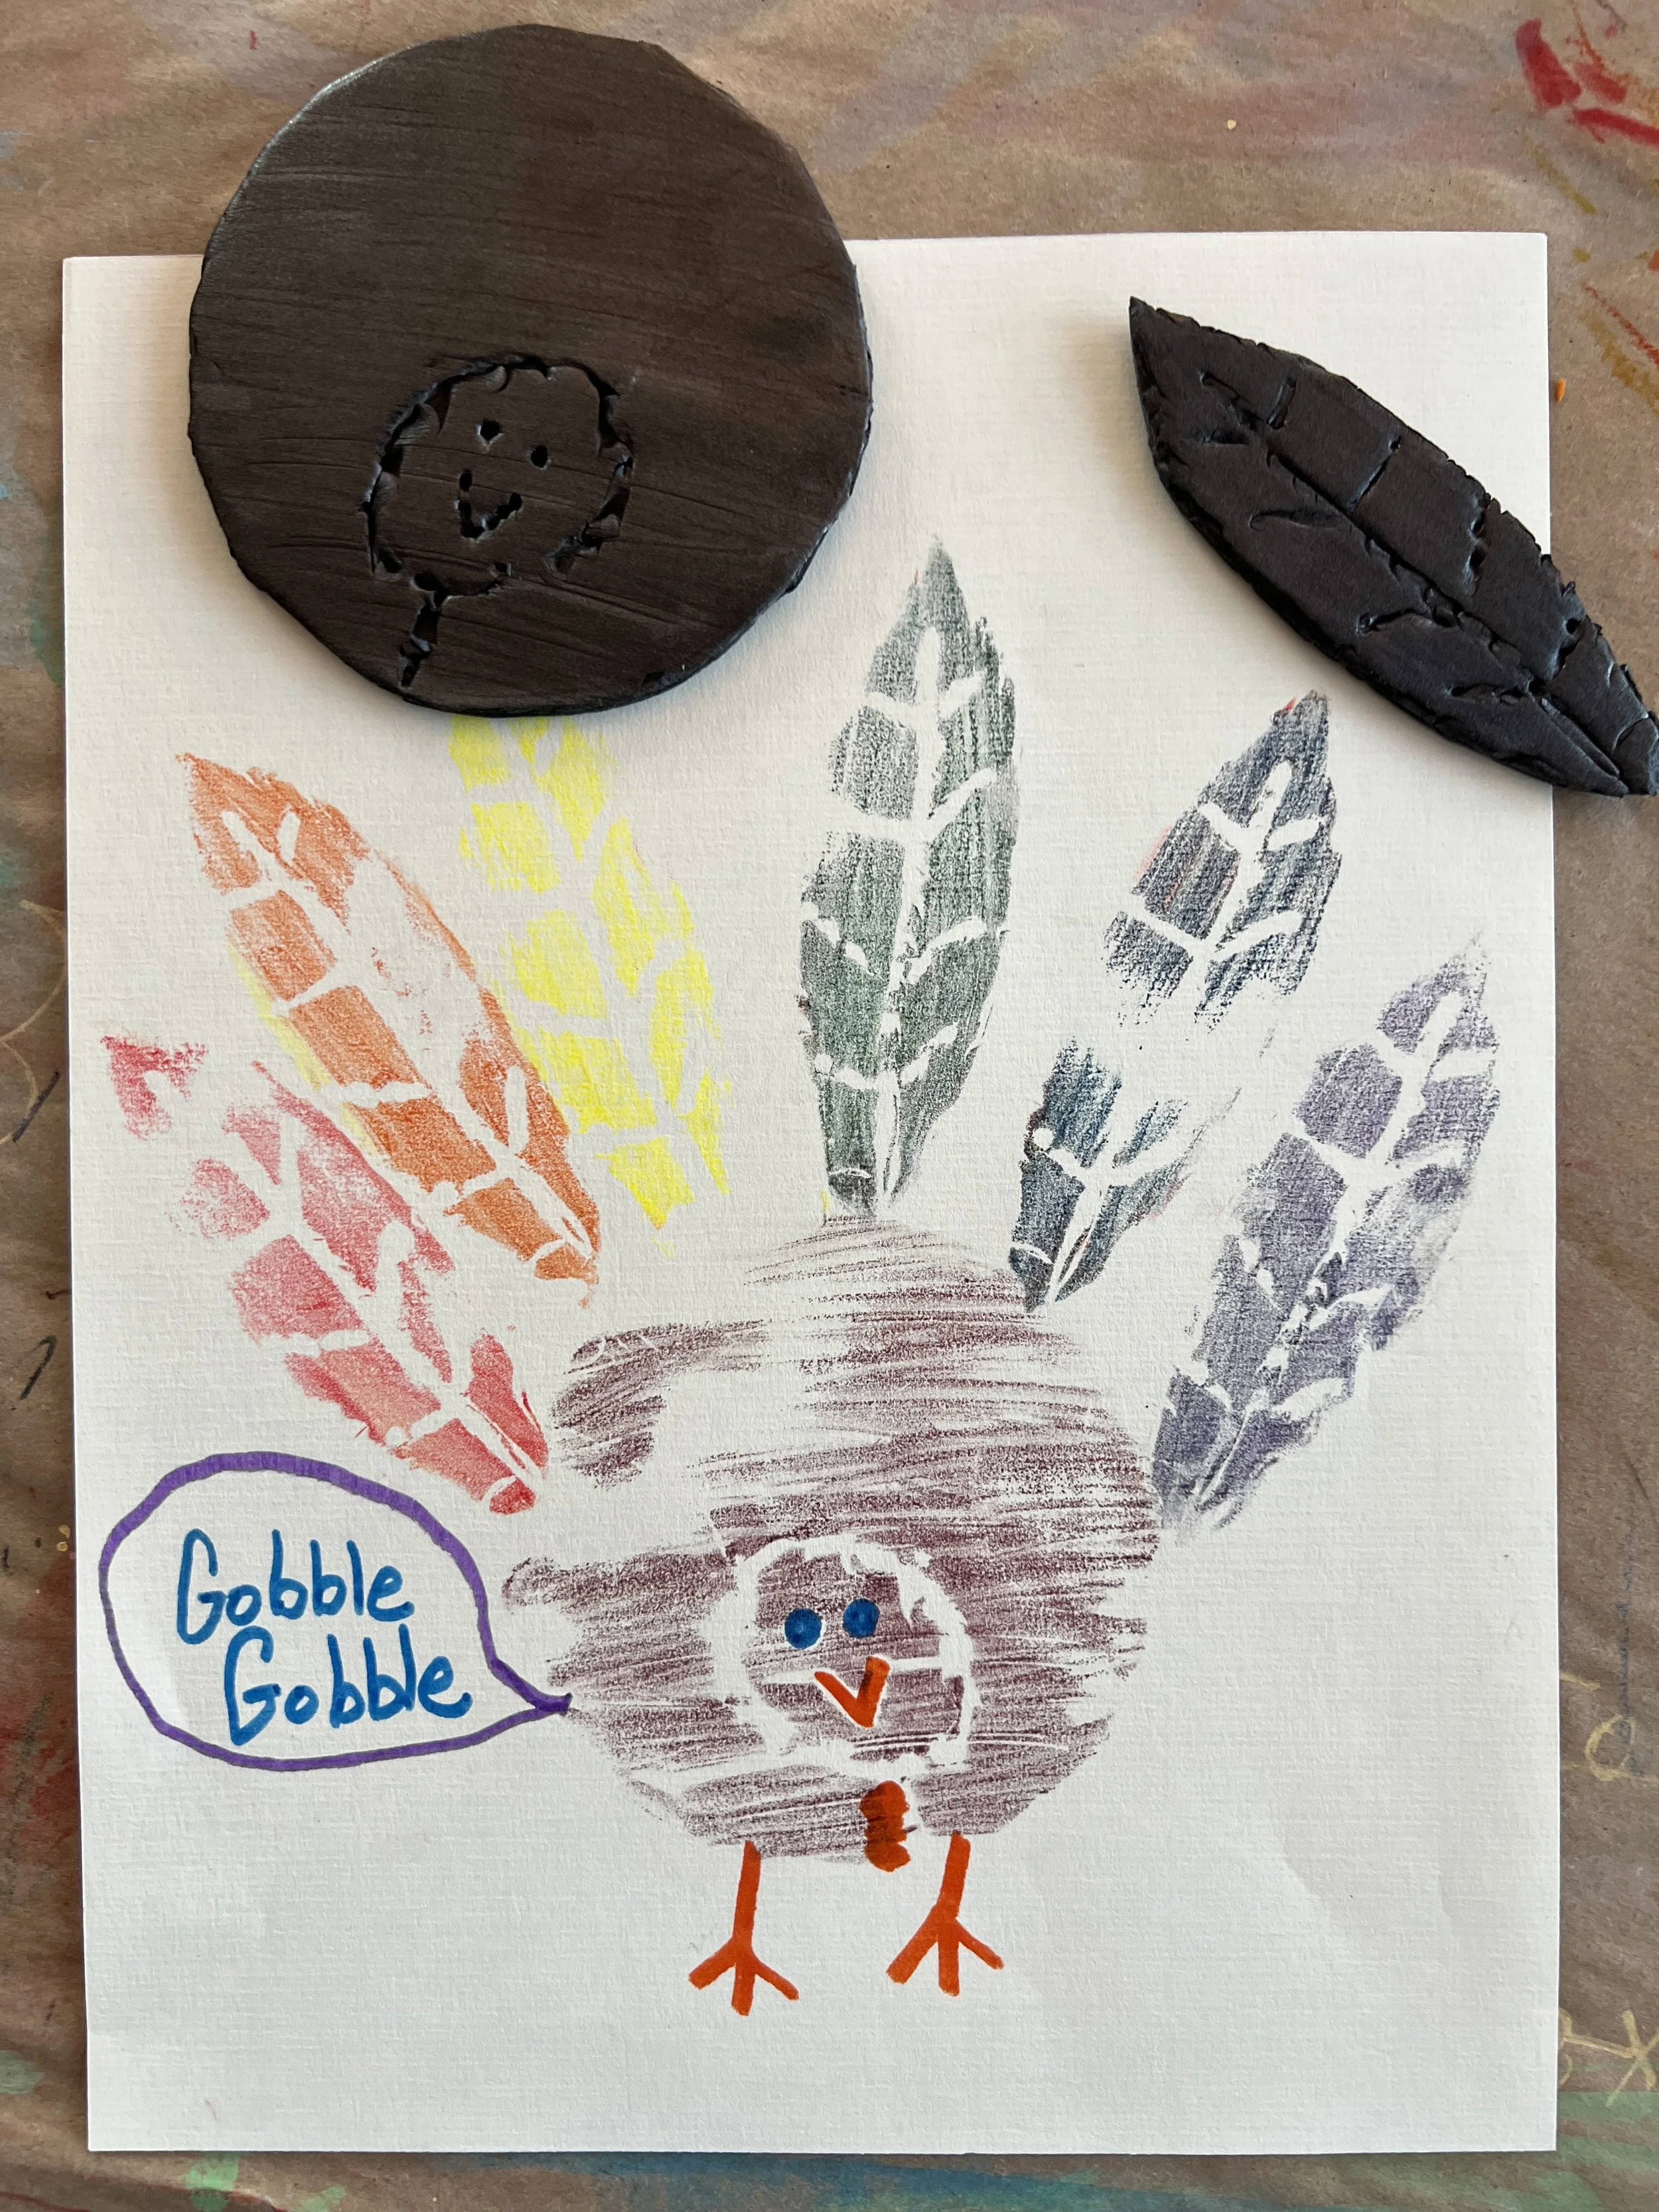
Turn your foam over, press the colored side onto your paper and lift it up to reveal your print. You may want to practice a few times before you make your final image. Remember: We are looking for an experience to explore something new. We are not looking for perfection.
Use your stamp again and again! Recolor it, change the colors, overlap your prints or arrange them in different ways.
Make as many different foam stamps as you wish and combine them to create a picture filled with your own ideas.
Post an image of your Styrofoam print on our Facebook page for a chance to win a FREE trial class. One name will be pulled at the end of the month. The winner will be notified by Facebook announcement. Be sure to follow and like Art Cart Kids.
Use Your Creative Superpowers
Notice: Look closely at your foam before and after you draw into it. What happens to the lines you press down? What do you notice about your design after you print it onto the paper?
Imagine: What could your foam become? You might create a leaf, an animal, a favorite food, a pattern or something that exists only in your imagination.
Explore: Try your stamp more than once. What happens when you change the colors, overlap your prints, turn the stamp or press with a little more or less pressure?
Share: Show someone your prints. Which experiment surprised you? Tell them something you discovered while making your stamps.
Make It Your Own
Your foam stamps do not have to match anyone else's. Make one stamp or make a whole collection. Print the same shape in different colors, build a picture from repeated shapes, create a pattern or overlap your stamps to see what new designs appear. Follow your imagination and see where your experimenting takes you.
Make It Easy for Preschool Artists
A grown-up can help cut the foam into a manageable size and hold it steady while a young artist presses lines into it. Simple lines, dots, circles and scribbles make wonderful printing plates. Help with the marker as needed, then let your child press, lift, recolor and print again. The surprise of lifting the foam to see the print is part of the experience.
Add a Challenge for Elementary Artists
Create several foam stamps that work together. Experiment with repeating a stamp to make a pattern, rotating it, overlapping prints or combining different stamps into one larger image. Try changing one thing at a time - color, placement or pressure - and notice how each choice changes the print.
Ta-Dazzle! You used your Creative Superpowers to transform something ordinary into a brand-new art tool. Every press, color change and unexpected print gave you another chance to notice, imagine, explore and share!